Well, after spending the majority of the first day finding our way around the Nintendo Switch, looking for cool stuff and trying to capture as much as possible, we realised just how much of a damn joy it was to use the capture button on the device.
Located on the left Joy-Con and left side of the Nintendo Switch Pro Controller, the capture button instantly takes a screenshot of pretty much any section of the Nintendo Switch UI or within a game.
As soon as you push the button, you’ll get a nifty notification saying ‘Capture Taken’.
Once getting into your Album, you then have the options to view all your screenshots as well as:
- Filter items
- Delete Items
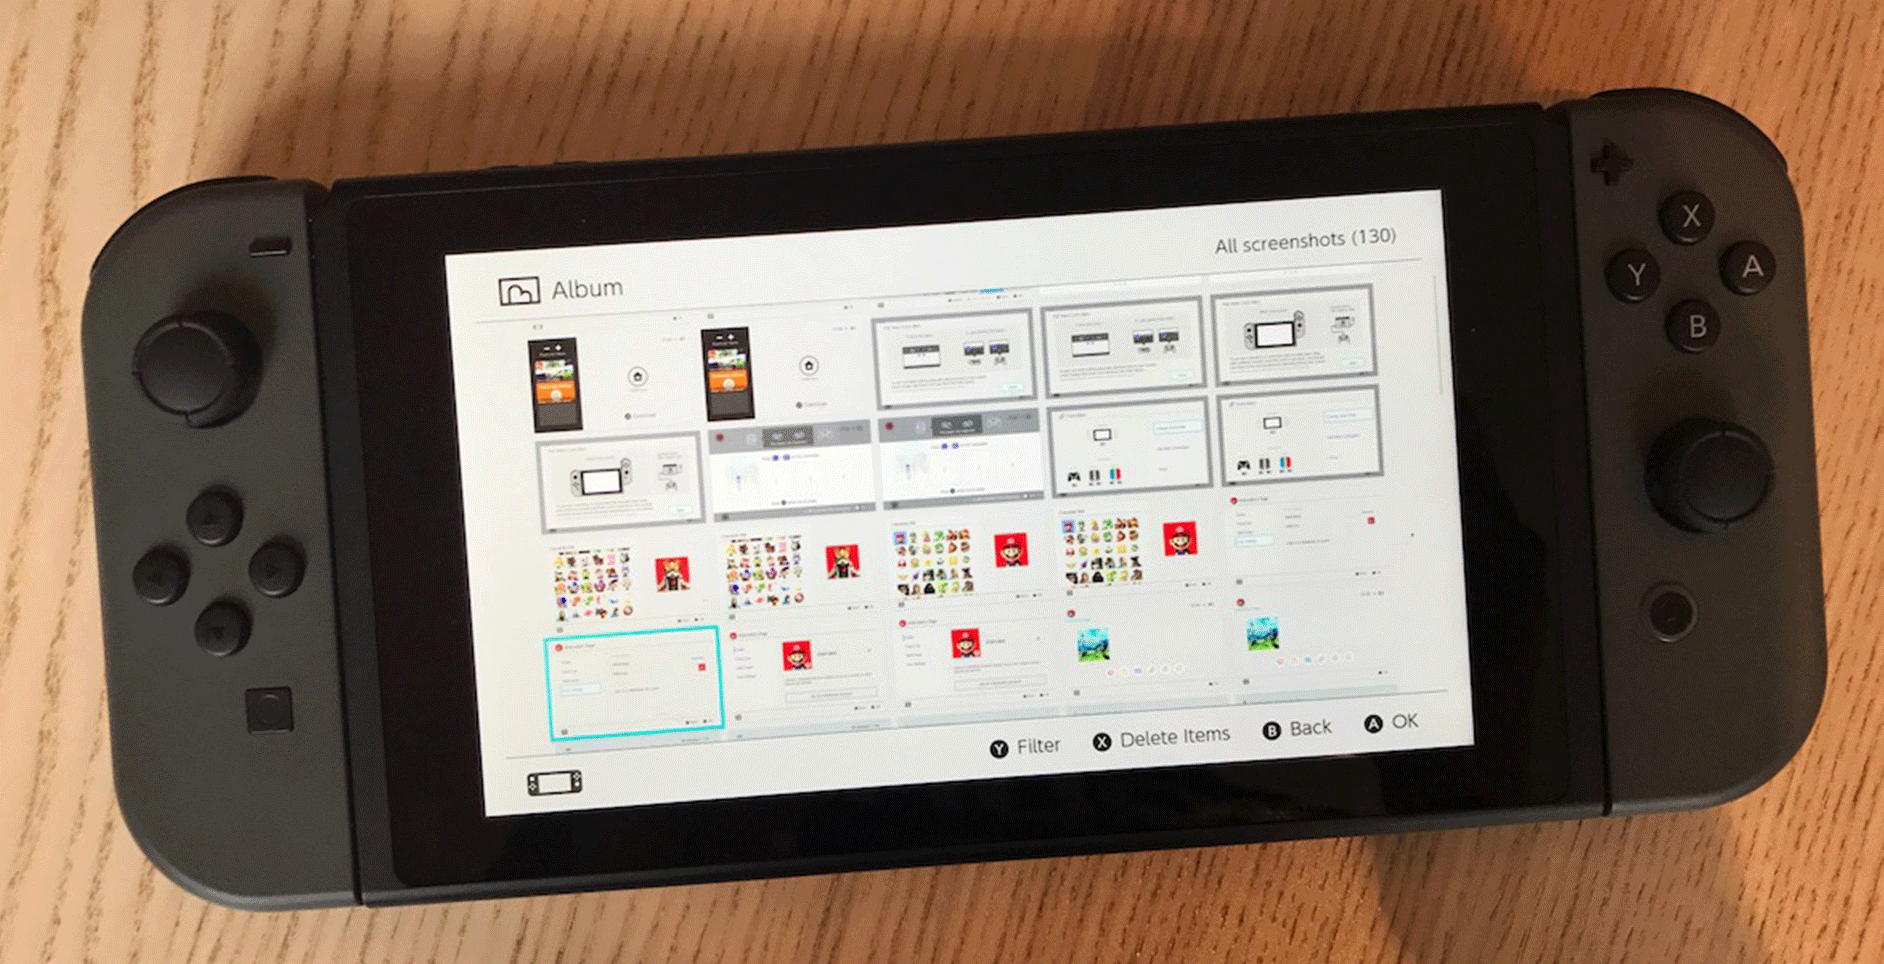
Once in a screenshot, you’re able to take the below actions:
- Post (Currently needs a software update)
- Enter Text (We’ll get to that in a second)
- Copy
- Delete
If you don’t have a MicroSD card inserted, your screenshots will automatically save to your system storage. As soon as you insert a card, it’ll then flick over and start saving them to your MicroSD cart automatically.
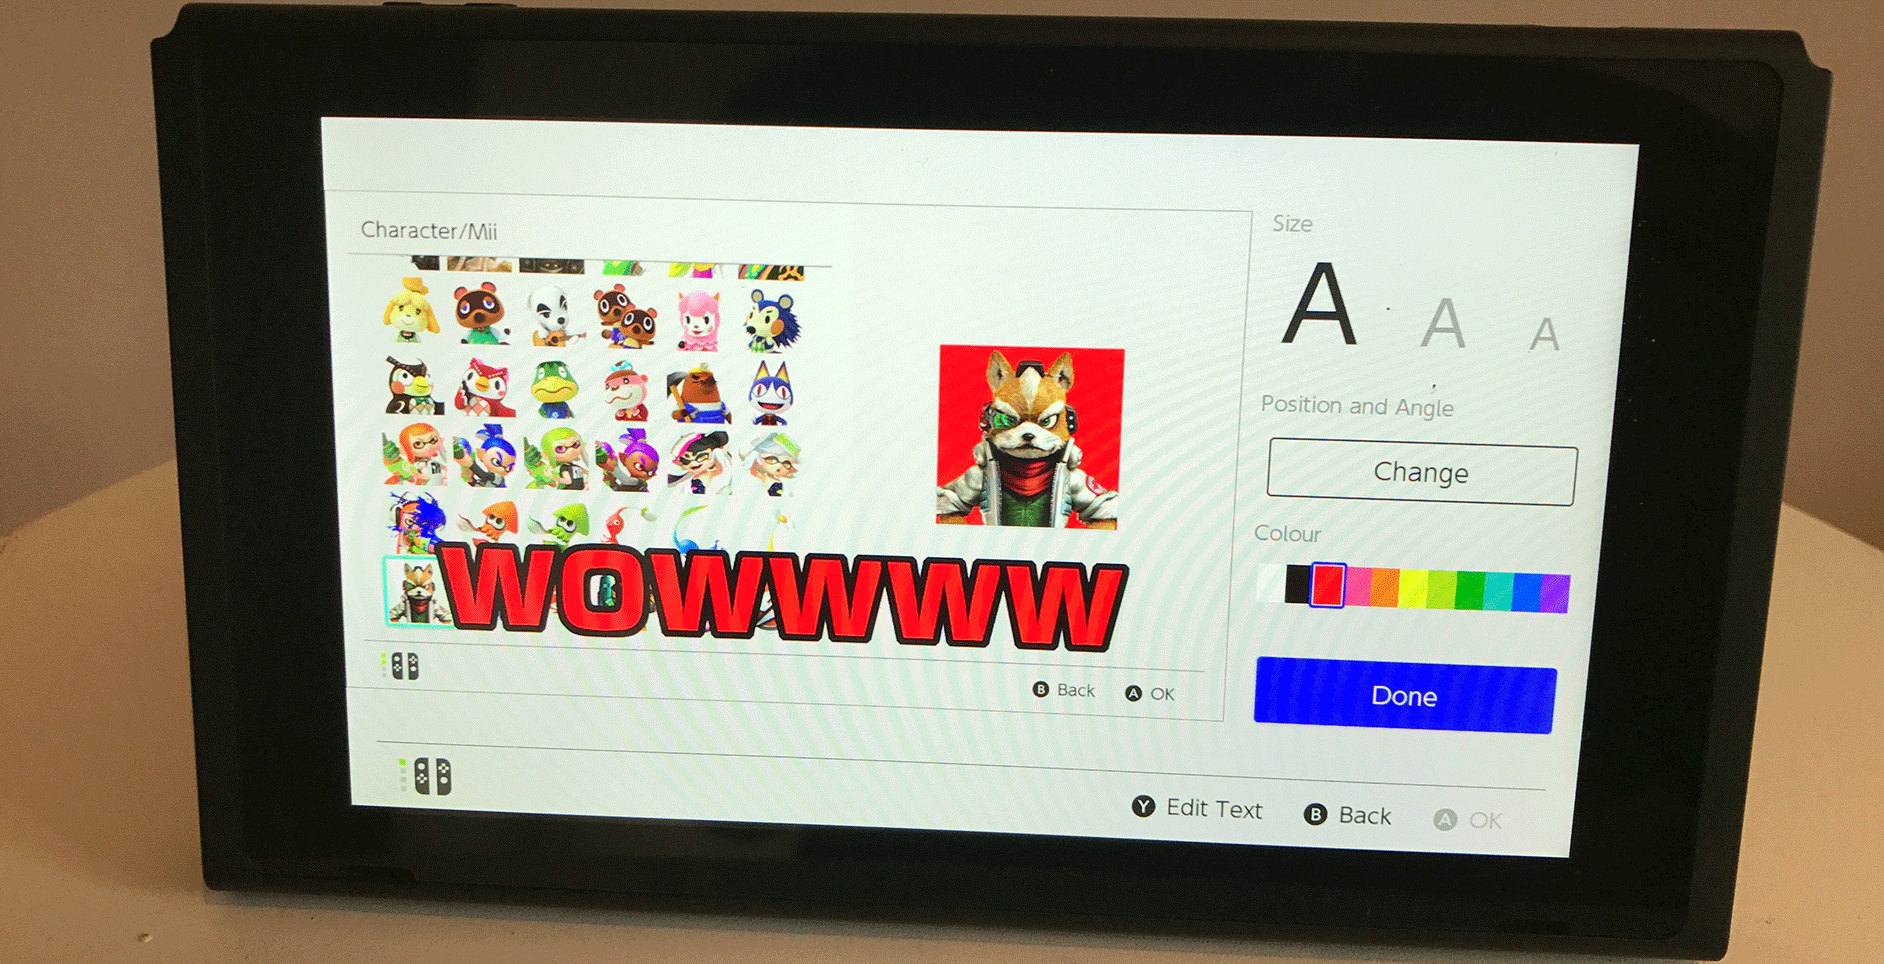
What’s cool about the Nintendo Switch capture functionality aside from the fact that it’s super quick and not as clunky as other gaming devices, you’re also able to easily edit text onto your images which is very Snapchat like.
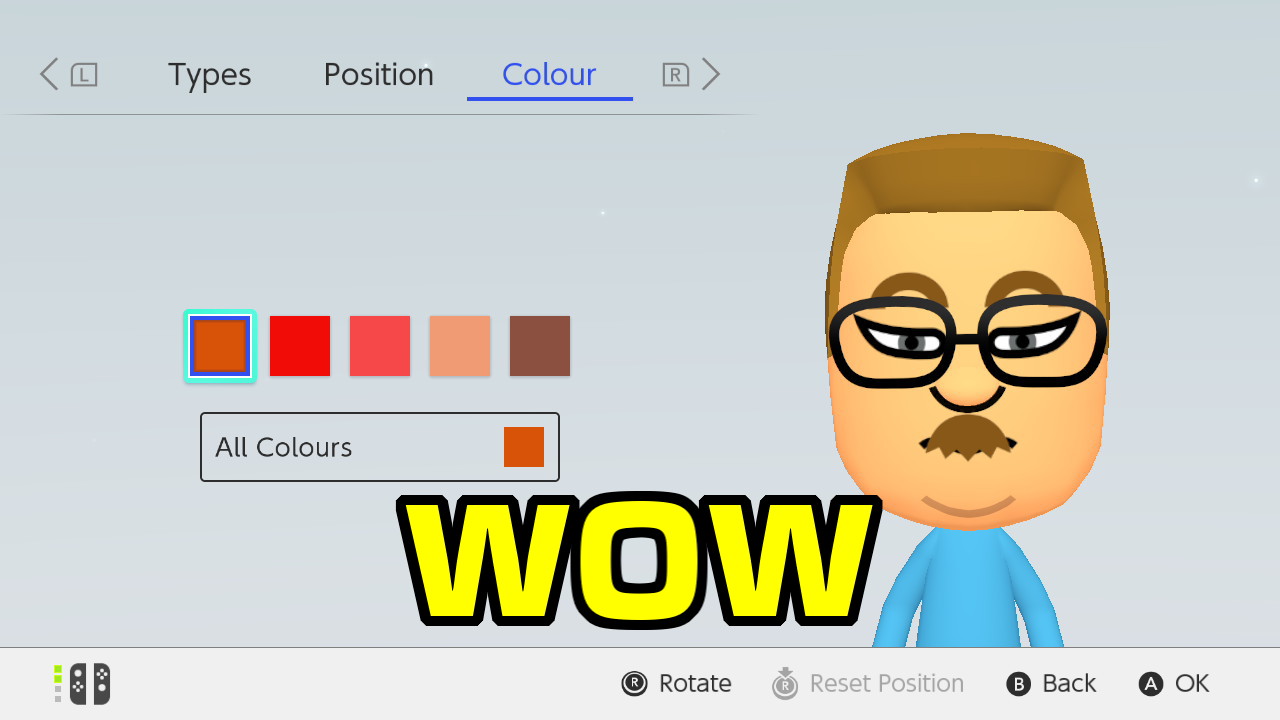
You’re able to select between:
- Three text sizes
- Position and angle
- 11 Colours
Honestly, I can see myself using this a lot once sharing to Twitter and Facebook becomes built in.
